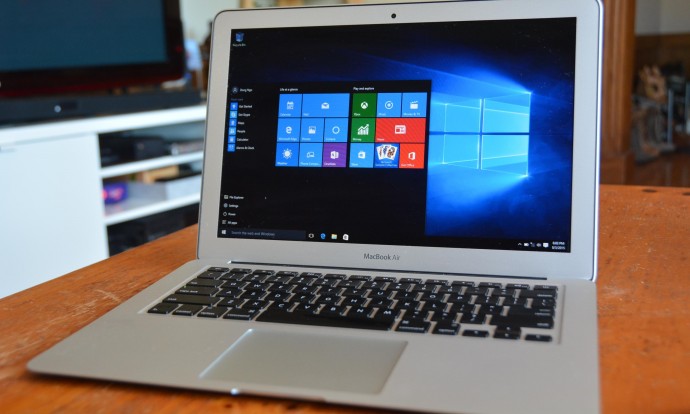
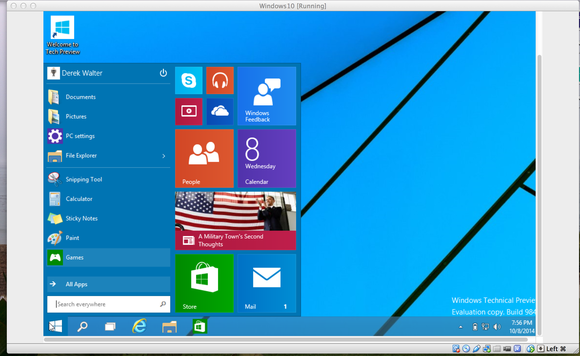
Here’s How Windows 10 Can Be Installed On Your Mac
After getting tremendous positive reviews, Windows 10 makes itself available even to Mac users. However, if you want to use it after the 30 day trial period, then you will have to buy it. You will require two things in order to complete this process – a 5GB pen drive and a second computer that runs on Windows 10.
Step 1: Download Windows 10 from the Windows run laptop and copy it on to your pen drive. You can copy it from the media creation tool on Windows; there are two versions, a 34 bit and a 64 bit version, pick the one that’s compatible with your computer.
Step 2: Go to the downloaded media creation tool and choose ‘Create installation media for another PC’ and click Next.
Step 3: Then select Language, edition and the 64 bit architecture for Windows 10.
Step 4: Save the Windows 10 installer as an ISO file. It is suggested that you avoid using the USB flash drive option.
Step 5: Save the Windows ISO file on your pen drive and then insert it into the Mac.
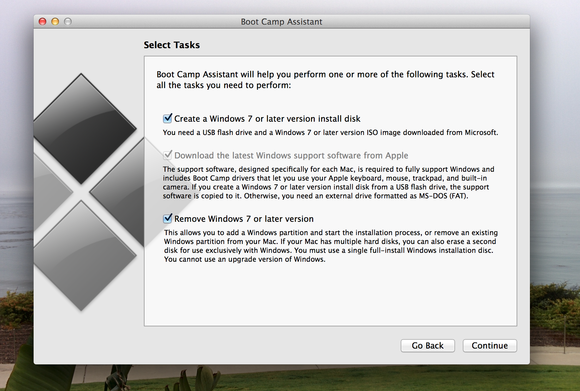
Step 6: With the pen drive still attached to your Mac, run the ‘Boot camp assistant’, which is located in the Applications folder.
Step 7: After the above procedure is complete, download the latest Windows support software from Apple and try installing windows 7 or a later version.
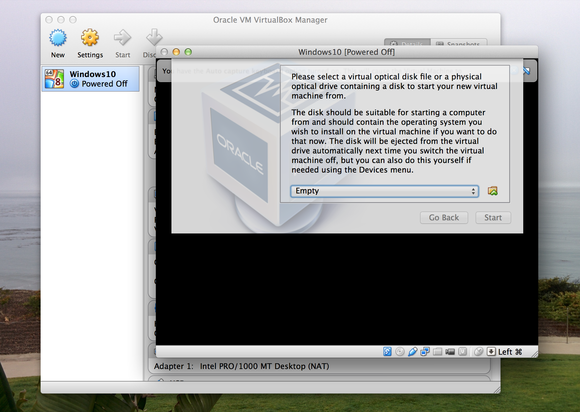
Step 8: If you have copied the Windows ISO on to the desktop then you can automatically locate it, otherwise you will have to click on Choose and look for it. After selecting the pen drive as the install disk, verify everything and Continue.
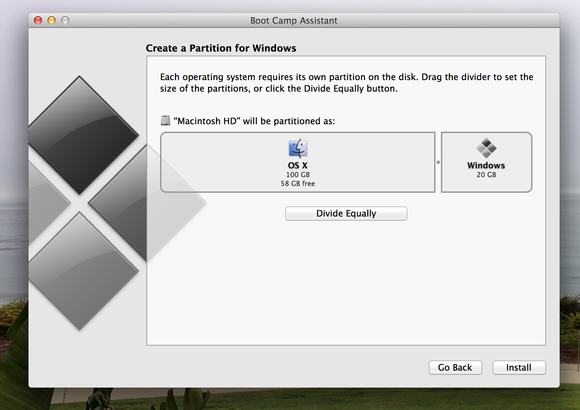
Step 9: You will then be asked to choose the size of the partition required for Windows usage; use the slider to select the size. You will need 20GB of space to install the software. Then click Install.
Step 10: The Mac should boot up from the flash drive automatically and start the Windows set up process. However, in case the Mac doesn’t automatically boot up, you can restart it and “hold down the Option Key after the Apple startup sound and then choose to boot from the flash drive.”
Step 11: After agreeing to the installation term and conditions, you may proceed further.
Step 12: After this, your will be shown all the existing partitions; pick the one marked ‘Bootcamp’ and click on Format.
Step 13: Confirm Windows setup
Step 14: Windows Setup will complete the rest of the process for you, after which your mac should start back up with Windows 10. The process for creating a Windows user account will be the same as in all other Windows computers.
Step 15: You will be greeted with a Boot Camp installation message, click on Next and follow up on the rest, reboot your computer. And Voila.
This entire process will now allow you to have both the Mac OS and Windows 10 running on the same machine. However, you can only run one at a time. You can also manually select which operating system to run – hold down the Option key after the Apple startup sound and use the left and right keys to select which one you want to run.
One can also permanently remove Windows by booting into the Mac OS and running the Boot Camp Assistant again.
Clearly, this is a long process, and takes up time, energy, and your peace of mind. However, having both of the most efficient operating systems on your device and being able to choose which one you want, seems to be worth the trouble.
For more information : [tw-button size=”medium” background=”#07ABE2″ color=”” target=”_blank” link=”http://www.cnet.com/how-to/how-to-install-windows-10-on-a-mac/”]Cnet[/tw-button]
[tw-button size=”medium” background=”#07ABE2″ color=”” target=”_blank” link=”http://www.pcworld.com/article/2824227/how-to-install-the-windows-10-technical-preview-on-a-mac.html”]PC World[/tw-button]


