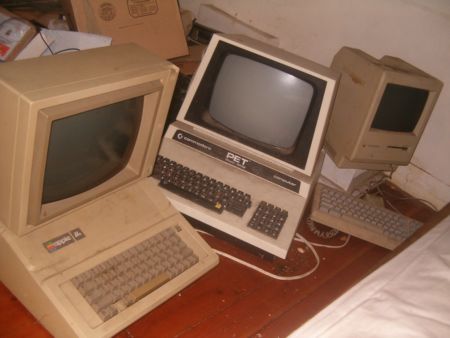
DIY : How To Revive An Old Computer Part 1
Now on your desktop/laptop open your browser and goto http://ip.address.you.configured. You will be presented with the FreeNAS login page.
Default Username: admin
Default Password: freenas
The first step is to go to Disks > Management where we will configure the disks used by the system.
1. Click the + icon to add a disk.
2. Select your disk from the drop down and enter a description.
3. Press Add.
4. Repeat steps 1-3 for all disks.
5. Click Apply Changes
There are many ways in which we can configure our disks for storage depending on the number of harddisk’s you have available. If its a single disk, go with UFS (FreeNAS’s default filesystem), but if you have 2 or more disks, i would suggest the ZFS array to store your data.
Why ZFS you ask?
Most people would not have heard about the ZFS filesystem, and there are many articles available online that list its advantages and disadvantages. For our purposes, this filesystem is required because of the way it handles data. ZFS creates a virtual ‘pool’ of harddisks which can contain different datasets. This property comes in handy when replacing failed hdd’s or when you are expanding your array with larger disks, which will allow you to use your FreeNAS box for many years ahead.
Single Disk Configurations:
1. Goto Disk > Format
2. Select your hdd from the dropdown list
3. Make sure that the File System is UFS
4. Press Format disk
5. Goto Disks > Mount Point (A mount point is the folder in Linux where the hard disk is ‘mounted’ like c: or d: in windows.)
6. Click the + sign to add a new Mount Point.
7. Select your disk and enter the name of the Mount Point.(Enter a name with alphanumeric charecters only eg hdd1 or test. Names like c: and d: WILL NOT WORK)
8. Leave all other settings to their defaults and click add.
Skip ahead to the sharing setion
Multiple Disk Setups:
This setup requires you to have 2 or more disks.
1. Goto Disk > Format
2. Select your hdd from the dropdown list
3. Make sure that the File System is ZFS
4. Press Format disk
5. Repeat steps 2-4 for all disks
6. Goto Disks > ZFS
7. Click on Virtual Device and click the + sign to add one.
8. Enter the name for your virtual array.
9a. For 2 disk setups, in type select Mirror. (This will mirror the 2 disks for data redundancy. In case of a disk failure, your data will still be available)
9b. For 3+ disk setups, in type select Single-Parity RAID 5. (This will create a virtual disk which has a size of (n-1)*x, where n is the number of disks and x is the size of the smallest hdd. This provides data redundancy, and the ability to expand the array with larger disks at a later time)
10. Select all the disks that you want as a part of this Virtual device.
11. Enter a description and press save.
12. Click Apply changes
13. Click on the management tab.
14. Click the + sign to add a dataset
15. Enter a name for your dataset and enter a description if you want. Leave the Root and mount Point options empty.
16. Click Save followed by the Apply changes button on the management screen.
Sharing
Our disk/array is now formatted, mounted, and ready to be shared.
1. Goto Services > CIFS/SMB
2. Click on the enable box in the top right corner to enable Windows sharing.
3. Enter the NetBIOS name, Workgroup and a description for your server.
4. Click Save and Restart
5. Goto the shares tab.
6. Click the + Sign to add a share
7. Enter a name and comment for your share.
8a. To get the path, click the … button
8b. You should be in the /mnt folder of your FreeNAS box. Within this folder you will see a folder with the Mount Point name you defined before.
8c. Click the folder and press OK.
9. Click Add and Click Apply Changes.
On Windows, your shares should be accessible at \\ip.of.the.server\sharename
Congratulations! You have now successfully installed and configured your basic home server.
Stay tuned for Part 2 of the series.

